
If you sell items on eBay or on your own online shop, you probably want to have them showing on a white background. If you’ve tried to photograph a product on a white background it might be that you’ve experienced the shock that white isn’t white. In other words, you find that the background you thought was white appears not to be in your photo.
I’m going to explain what’s going on and how we achieve that pure white background.
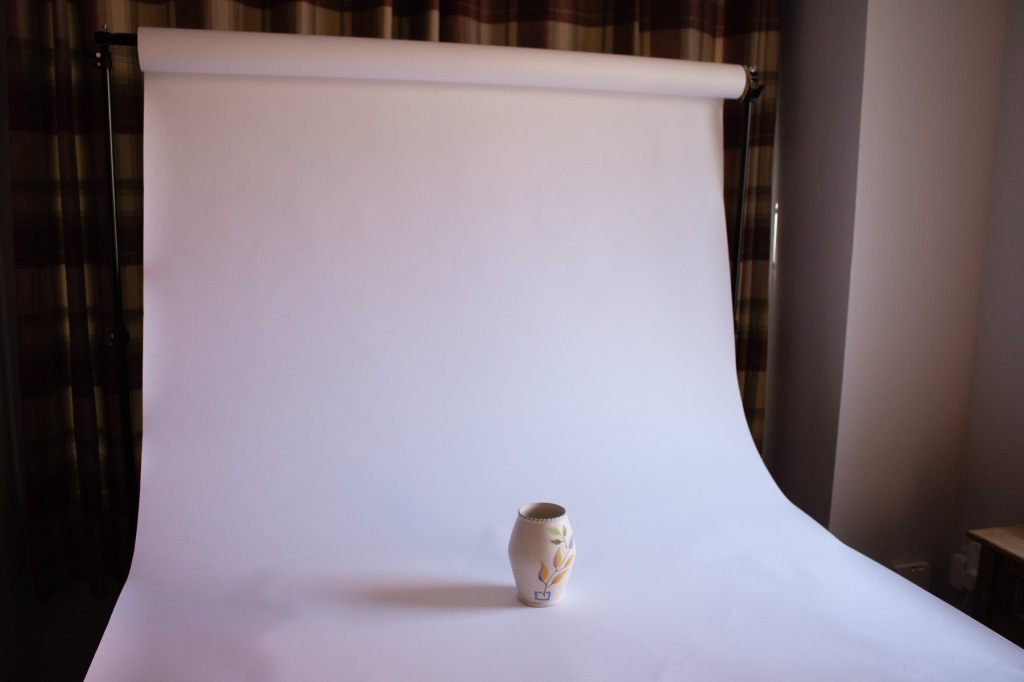
Let’s do it with an example using a vase.
Perhaps you’ve got yourself a nice seamless paper backdrop and set up something like this:
Then you take your photograph with the onboard flash of the camera or a camera-mounted flash, which is exactly what I did, and this is the result:
As you can see, the vase is nicely exposed but the white background is a muddy grey at the top with a hint of blue at the bottom. Anything but white.
What’s happening here, is that the camera and flash, on auto settings, have done their job and correctly exposed for the subject, not for the background. Essentially there’s enough light on the subject but not enough on the background. We also have a rather unsatisfactory shadow cast by the vase onto the background. So, how do we get the vase properly exposed and have the background white?
The answer is that, as a rule of thumb, we want twice as much light on the background as on the subject. Achieving this needs the right equipment and knowledge.
In this example, I retained the on-camera flash for lighting the vase and kept the exposure settings the same. That way I knew I would be properly exposing the vase. Then I added in two studio flashes to the sides in order to light the background as shown in this diagram:
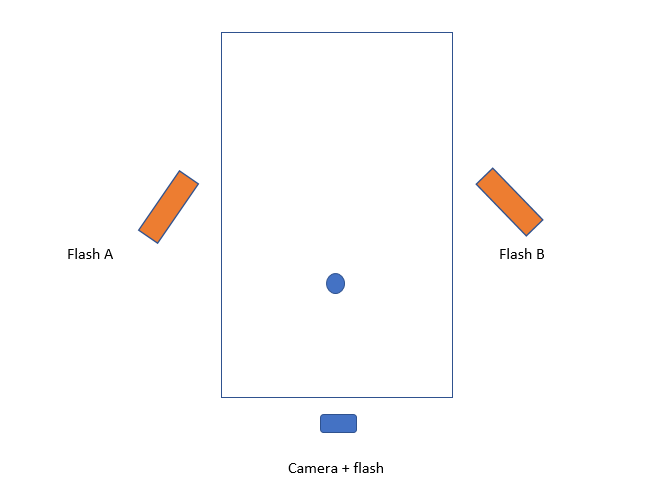
Here, you can see the two flashes to each side. It’s important that they are directed at the background and not spilling light onto the subject.
The flashes are triggered remotely from the camera and their power output is adjustable. I began at roughly twice the power of the flash on the camera then made some adjustments taking further shots until I was happy with what I got.
Here’s the result straight out the camera as it appears in Lightroom (the editing software I use)
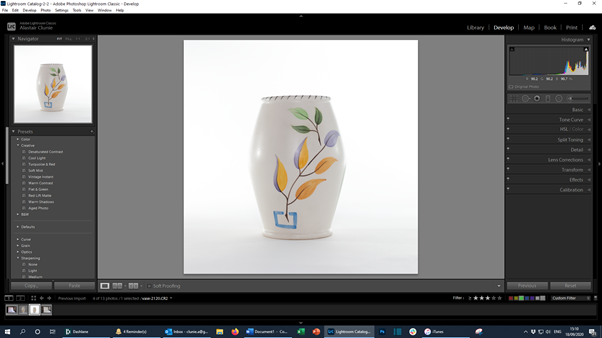
It’s much better but you can see a bluish tinge to the bottom of the photo so more work needs to be done in editing.
Using the brush tool, I increased the values for white and highlights and gently brushed round the background area of the photo.
Here’s a before and after comparison:
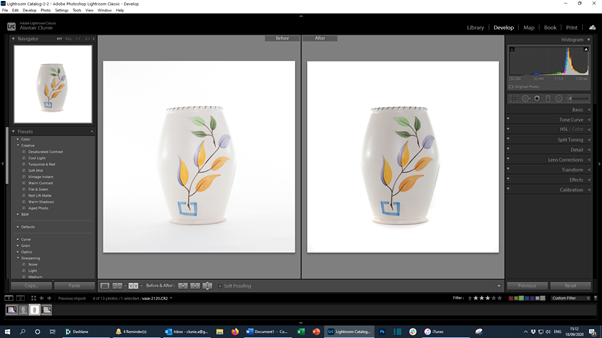
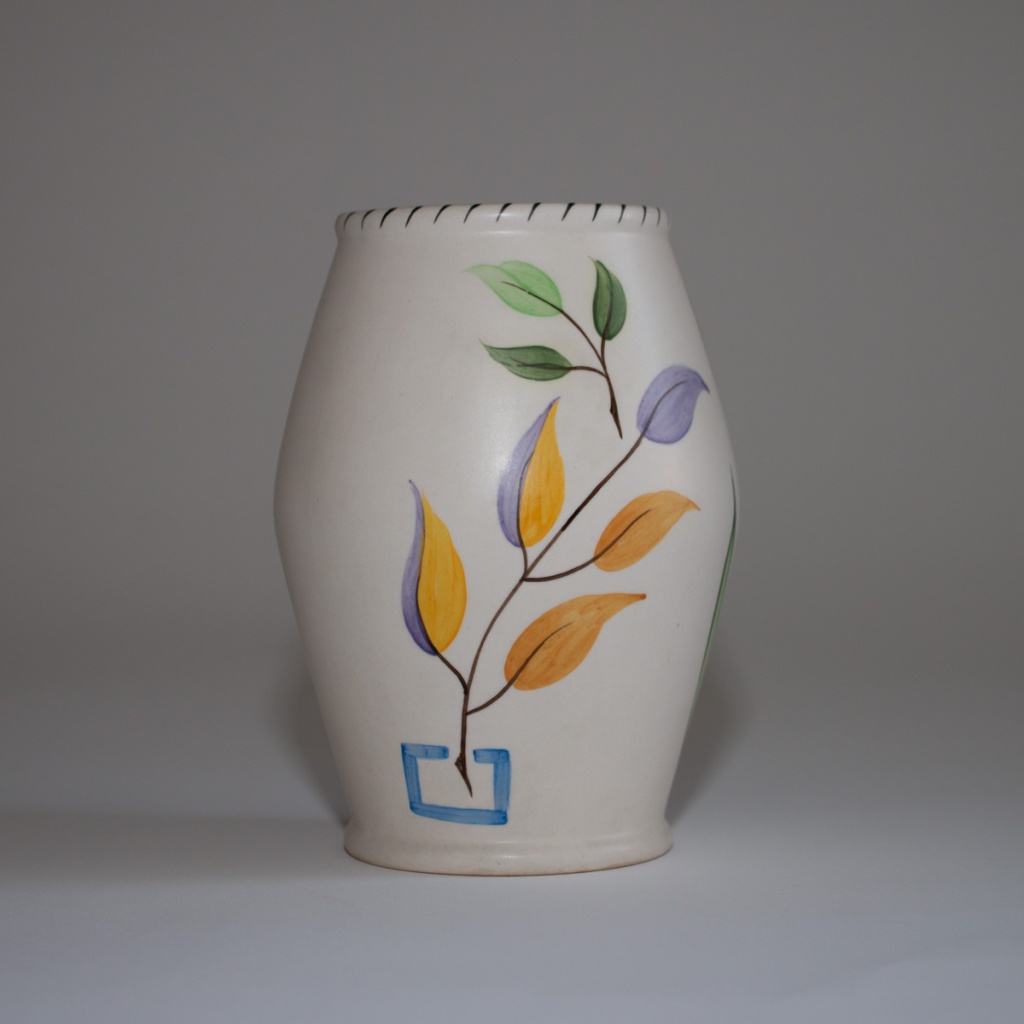
And here is the final image after processing

Ah, now that’s much better! It’s also the reason it’s good to get a professional to take your product shots.
